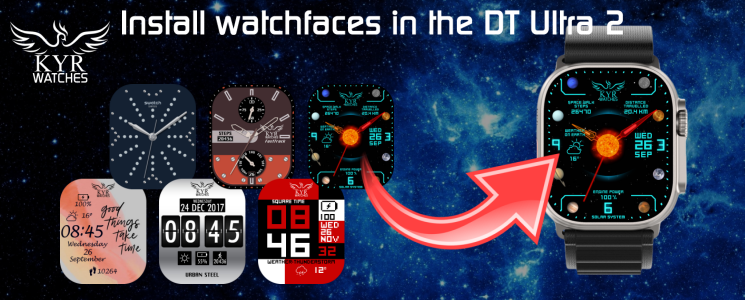
In this tutorial we're gonna see how to install watchfaces in the DT Ultra 2 to use them. It's a very simple process, and it not only works for the DT Ultra 2, but also for any watch with a full version of Android, but I focus on this smartwatch because, although it's a well-known method since long ago, the new users who have known Android watches through the DT Ultra 2 probably don't know it yet.
If you want to buy it this smartwatch, you can do it through these links:
Buy the DT Ultra 2 at DT No.1
Buy the DT Ultra 2 at Buyswear
DISCOUNT CODE 15% discount when purchasing the DT Ultra 2 at Buyswear: H452B8CH
You can also check the official information of the DT Ultra 2 in this link from DT No.1:
https://www.dtno1.com/fashion-smartwatch/dtultra2-1.html
DT No.1 official site: https://www.dtno1.com/
Instagram DT No.1: https://instagram.com/dtno.1/
Download
The first thing we need is, obviously, the watchface. There are many sites where we can find the watchfaces for watches with full version of Android shared by the creators. some of them creates them for watches with round screen, others creates them for watches with square screen, some creates them for watches with different kinds of rectangular screens, and others for the DT Ultra 2 and other watches with the same style and screen.
For this tutorial I am going to use as example the watchfaces that I've shared on my blog. The download is not complicated at all, because it's neither more nor less than a download through a browser.
In my case, I'm gonna download and install it from my computer, but it can also be done using the browser of the smartwatch.
Install the watchface
Once downloaded, we'll have a ZIP file whose content we must extract. I always do it by extracting the files directly to a folder, because this folder is gonna be important.
If the extraction is done directly to the folder in which we are working, all the files that have been extracted must be saved within a folder that we will create for the watchface. This folder can have any name we want, but my recommendation is that the folder have the same name as the ZIP file, so that it can be easily recognized.
Once we have the files of the watchface inside their folder, let's go to the smartwatch of the watch it's important that we have a folder called ClockSkin. If we have previously installed a watchface from the watch or from the WearPro app, this folder will already be created. If not, we can create it ourselves. The ClockSkin folder name can be in uppercase letters, lowercase letters, or a mix of both types. The important thing is that as long as the name is "ClockSkin", it will work.
Saving the watchface in the ClockSkin folder is also very simple. If we have the watch connected to the computer with the cable, we simply drag the watchface folder to its destination, or we can also do it using the well-known Copy and Paste options.
If we are doing it on the watch, with the default file manager or with any other that we have installed we can move the folder to save it inside the ClockSkin folder.
We now have the watchface saved at its destination, and the last thing we need to do is restart the watch so that it recognizes it and display it. In older models of smartwatches with a full version of Android this was not necessary, but since some years ago it has been mandatory to restart the system for the watch to display it.
Once we have restarted the system, we go to the watchfaces selection and we see that we already have the one we had installed available, and we can now use it. As you can see, it's a very quick and simple process with which we can install without complications, and use, any watchface that we have downloaded.


